Visual Studio 2013 Lesson 2: Building the Interface1- Customizing the Form
[Lesson 1] <<[Contents] >>[Lesson 3]
2.1 Changing the Properties of the Default-Form using the Properties Window
When you start a new Visual Studio 2013 project, the IDE will display the default form along with the Solution Explorer window and the Properties window for the form as shown in Figure 2.1
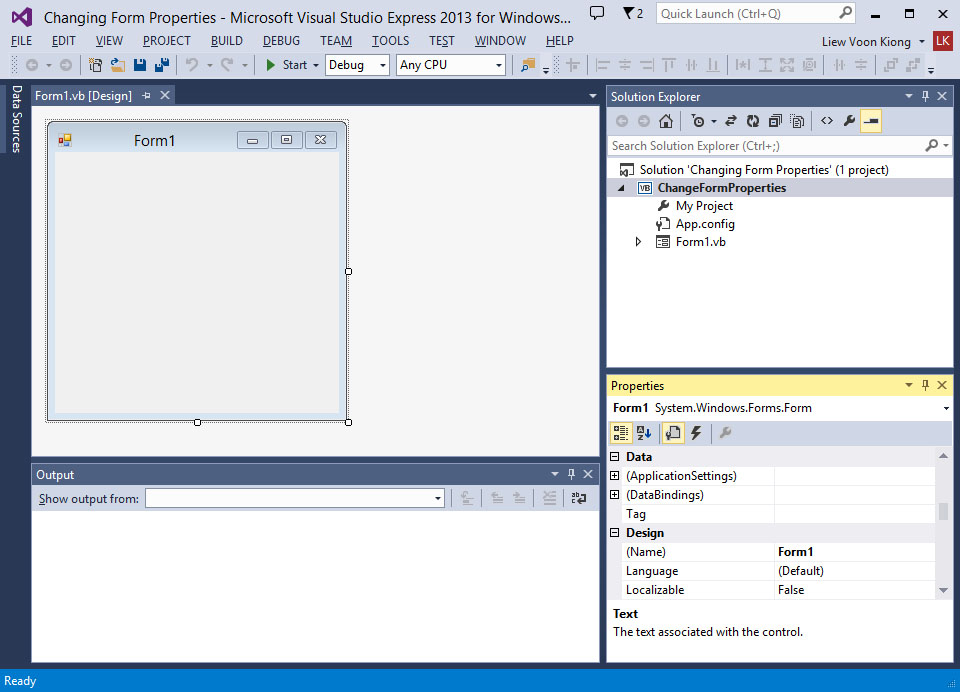
Figure 2.1: Initial VB2013 IDE
The properties window displays all properties related to Form1 and their corresponding attributes or values. You can change the name of the form, the title of the form, the background color, the foreground color , the size and more. Now customize the following properties:
The output interface is shown in Figure 2.2. Notice that the title has been changed from Form1 to My First Program, background changed to blue color and the window cannot be maximized.
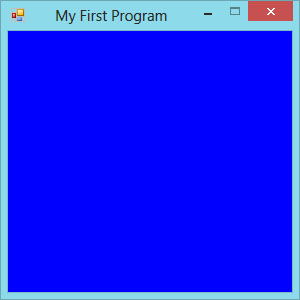
Figure 2.2
2.2 Changing the Properties of the Default-Form at Run-Time
You can also change the properties of the form at run-time by writing the relevant codes. The default form is an object and an instant of the form can be denoted by the name Me. The property of the object can be defined by specifying the object’s name followed by a dot or period:
ObjectName.property
For example, we can set the background of the form to blue using the following code
Me.BackColor=Color.Blue
To achieve the same interface as in Figure 2.2, type in the following code by clicking the form to enter the code window:
Public Class Form1
Private Sub Form1_Load(ByVal sender As System.Object, ByVal e As System.EventArgs) Handles MyBase.Load
Me.Text = “My First VB2013 Program”
Me.BackColor = Color.Blue
Me.MaximizeBox=False
Me.MinimizeBox = True
End Sub
End Class
| Property | Value |
|---|---|
| Name | MyForm |
| Text | My First Program |
| BackColor | Blue |
| MaximizeBox | False |